How To Make Your First Sale On Etsy Selling Digital Products
Jul 15, 2026
Making your first sale on Etsy feels big.
You set up the shop, upload your digital product, hit publish… and then wait.
When nothing happens right away, it’s easy to start doubting:
- “Is my product good enough?”
- “Did I price this wrong?”
- “Am I just too late to Etsy?”
You’re not too late. But you do need a simple plan.
In this post, we’ll walk through a clear, beginner-friendly path to your first sale, specifically for digital products like printables, templates, planners, and artwork.
We’ll cover:
- Choosing a simple, focused first product
- Setting up your listing so it can actually be found
- Pricing in a way that builds momentum
- Using small, realistic marketing moves to get that first customer
Step 1: Start with one focused, useful product
When you’re excited, it’s tempting to try to launch everything at once: planners, wall art, journals, social templates, stickers, you name it.
For your first sale, you don’t need a full catalog. You need one solid, clear product that solves a real problem.
Ask yourself:
“What is one small, specific problem I can help someone with using a printable or digital file?”
Examples:
- “Help a busy mom plan her week in 10 minutes” → Weekly planner
- “Help a small business owner track content ideas and posts” → Content planner
- “Help a student keep assignments organized” → Homework or study planner
- “Help a bride track wedding plans” → Wedding checklist
- “Help someone decorate a nursery quickly” → Set of printable wall art
If you’ve written your earlier blogs about creativity and printables, you already have idea seeds from your own life. Pick the one that feels easiest to finish this week, not the “perfect” idea.
Your Goal: One clear product with a clearly defined audience and purpose.
Step 2: Make sure your product is actually ready
Before you worry about Etsy’s algorithm, make sure your product itself is solid.
For a printable or digital template, check:
Is it easy to understand at a glance?
Can a stranger look at it and immediately know what it’s for?
Is it readable?
Fonts large enough, not too light, not too decorative for core text.
Is it sized correctly for its purpose?
US Letter / A4 for planners, 8x10 or 5x7 for wall art, etc.
Does it print cleanly?
Download the file, print it at home or test at a shop.
Check margins, alignment, and clarity.
Is the file format right for Etsy customers?
- Printables: usually PDF (sometimes JPG/PNG for art)
- Canva templates: a PDF that contains the Canva template link
- Other templates: clear instructions + usable file types
If you’re using Canva as your base, your final package might be:
- A PDF with:
- The Canva template link
- Simple instructions on how to open/edit
- Basic print or use recommendations
Your Goal: A product that won’t confuse or frustrate your very first customer.
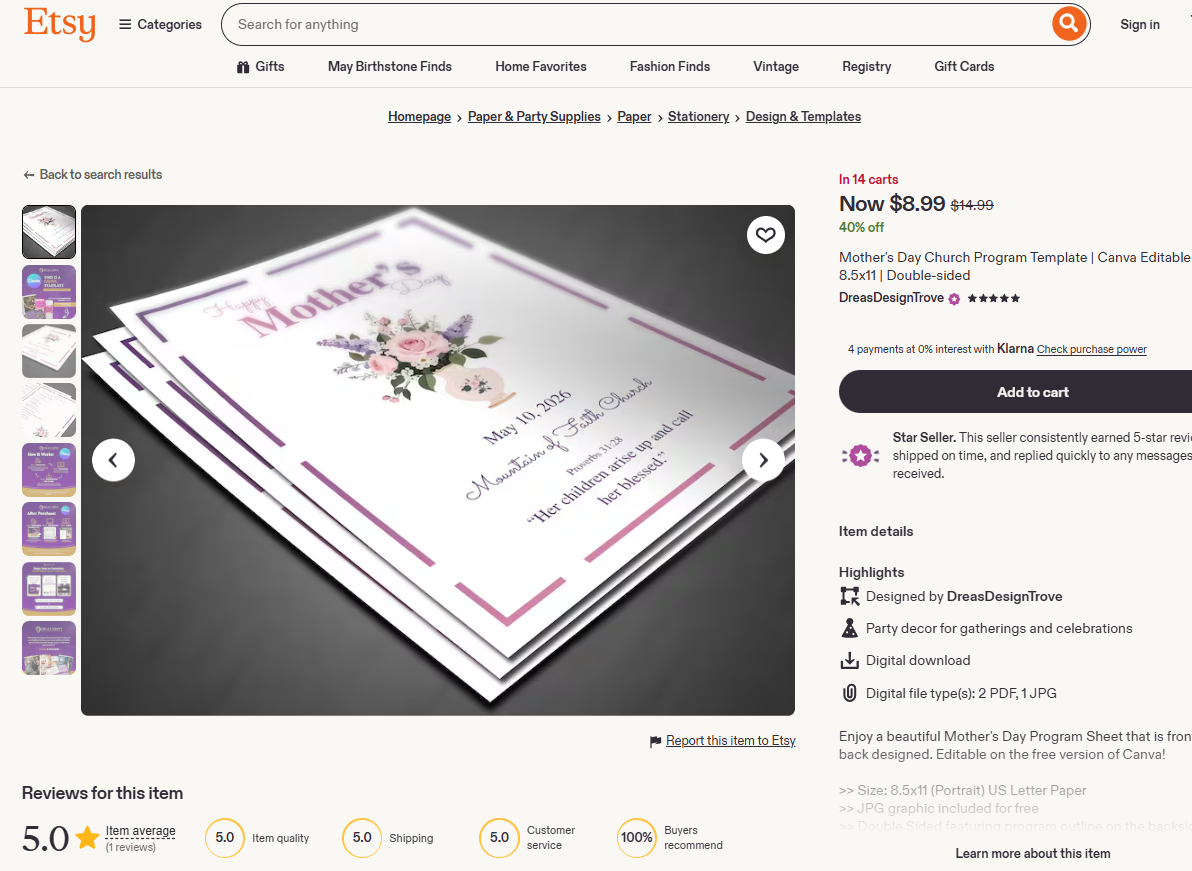
Step 3: Create listing photos that actually show the product in use
On Etsy, your listing photos are everything. People scroll fast. You have a second or two to communicate:
- What it is?
- Who it’s for?
- Why should they click?
You don’t need to be a professional photographer, but you do need clarity.
For digital products, aim for:
1. A strong main image
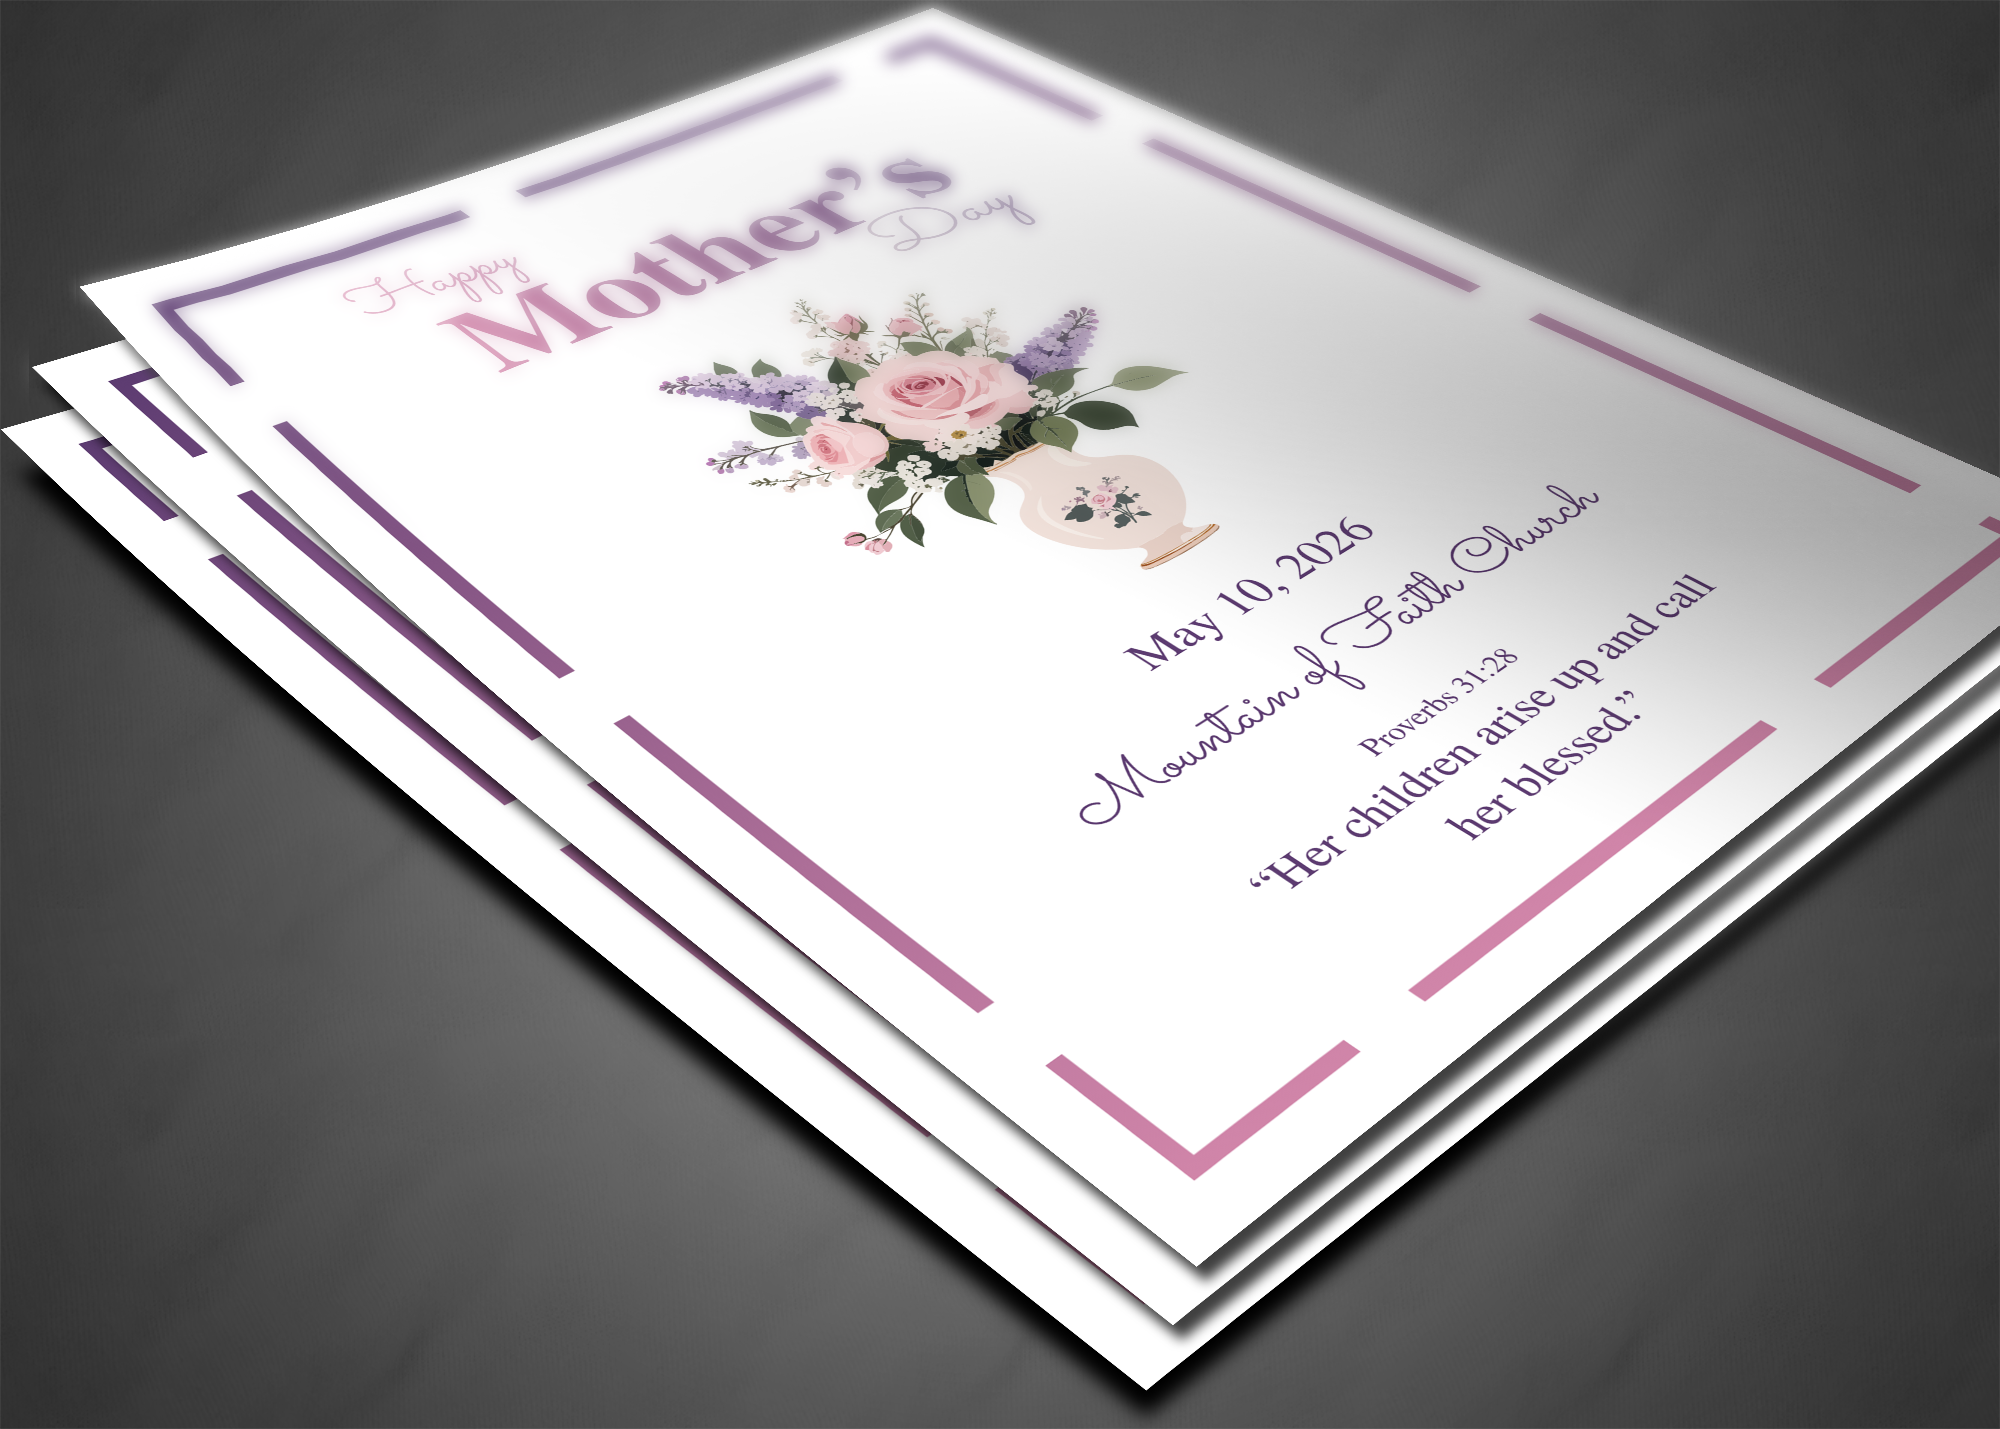
- A clean mockup showing your design on a screen or printed page
- Large, readable text overlay like:
- “Weekly Planner Printable”
- “12-Page Budget Planner”
- “Editable Canva Template”
2. Detail shots
- Close-ups of important sections: layouts, trackers, checklists, etc.
- Show multiple pages if your product has them.
3. A features/benefits image
- Simple graphic that lists what’s included:
- “Includes: 10 pages | US Letter + A4 | Instant download | Canva template link”
4. A usage/context image
- A mockup of your printable on a desk, in a frame, or in a planner setup.
- This helps buyers imagine it in their own life.
You can create these images in Canva using free mockups or purchased ones.
Your Goal: When someone glances at your listing photos, they can say:
“I see what this is, how many pages, and why I might want it.”
Step 4: Write a clear, keyword-friendly title and description
Your title and description do two jobs:
1. Help Etsy understand what you’re selling
2. Help a human quickly decide if it’s for them
Title basics:
Use simple, descriptive language:
- Who it’s for
- What it is
- Format/size if relevant
For Example:
“Weekly Planner Printable For Busy Moms | A4 & US Letter | Minimal Editable Canva Template”
You don’t have to cram every keyword on earth in there. Just be clear and specific.
Description basics
Use a simple structure:
1. Opening sentence: what it is and who it’s for
“This minimal weekly planner printable is designed for busy moms who want to organize their week in 10 minutes or less.”
2. What’s included (bulleted list)
- Number of pages
- Sizes
- File types
- Canva template link (if applicable)
3. How it helps (benefits)
- Feel more in control of your week
- Keep appointments and to-dos in one place
- Stop rewriting the same lists every day
4. How it works (simple steps)
- Purchase the listing
- Download your file(s)
- Open the Canva template or print the PDF
- Start using your planner immediately
5. Important notes
- Digital product only, no physical item shipped
- Personal use terms (or limited commercial use if you offer it)
If you want, you can absolutely draft this first and then use a tool like ChatGPT or Gemini to polish the wording while you keep your core message.
Your Goal: Someone reading your description should never have to wonder “What do I get?” or “How do I use this?”
Step 5: Choose a simple, starter-friendly price
Pricing can create a lot of mental noise.
Here’s a grounded way to approach it for your first sale on digital products:
- For a single-page or very small printable:
Around $2–$4 USD - For a multi-page planner, workbook, or set:
Around $5–$9 USD - For a larger, more detailed bundle or premium template:
$9–$15+ USD, once you have more proof and reviews
For your first product, it’s okay to be a bit on the lower side to build momentum and social proof. You can always raise your price later once you’ve:
- Improved the product based on feedback
- Gotten some reviews
- Added more value
Your Goal: A price that feels like a clear “yes” to buyers and still respects the work you put in.
Step 6: Don’t wait for Etsy alone to bring your first buyer
Etsy can and does bring organic traffic, but it might not happen instantly, especially with a brand new shop.
To get that first sale faster, give your listing a little push:
1. Share with people you already know
You don’t need to spam your friends, but you can:
- Post once on your personal social profile
- “I just launched my first digital product on Etsy! It’s a [product]. If you know a [type of person] who might love this, I’d be grateful if you shared it.”
- Message 2–3 people who actually fit your target audience
- “Hey, I made this [planner/checklist/etc.] because I know how busy you are with [role]. No pressure, but if it looks useful, I’d love your honest feedback.”
Even if they don’t buy, they may share it or give you helpful insights.
2. Use one simple platform for visibility
Pick one place to be visible at first:
- Instagram / TikTok: short behind-the-scenes or quick tips + link in bio
- Pinterest: pin your product images and link back to your Etsy listing
- Email list (if you have one): announce your new product and how it helps
Show:
- A quick flip-through of your planner
- A before/after: messy schedule vs organized weekly layout
- A simple “how I use this in my life” view
No need for high production. Clarity beats perfection.
3. Consider a small launch incentive
To encourage that first sale or two, you might:
- Offer a small launch discount for the first week
- Add a bonus page or extra printable for early buyers
- Mention clearly in your listing and social post
Your Goal: Don’t sit back hoping Etsy finds you. Take 2–3 tiny, low-pressure actions to get human eyes on your product.
Step 7: Treat your first sale as data, not a verdict
When that first sale comes in, it feels amazing. But it’s more than a dopamine hit. It’s data.
Pay attention to which keywords got views and clicks, which photos people seem to respond to and what questions (if any) buyers ask
And just as important:
If a product doesn’t sell right away, that’s data too, not a sign you should quit.
Ask:
- Is my product clear enough?
- Do my photos show what’s included?
- Is my title descriptive?
- Does my description make it obvious how this helps?
Then make small improvements such as swap out your first photo for a clearer main image, tighten your title to be more specific and / or add a new image that lists what’s included
Over time, your shop becomes a living, improving thing, not a static set of listings.
Final thoughts: Your first sale is a starting line, not the finish
Making your first sale on Etsy selling digital products is a mix of:
- A focused, useful product
- Clear presentation (photos, title, description)
- Simple, realistic promotion
- Willingness to learn and adjust
You don’t need dozens of listings, perfect branding or a huge audience. You need one real product, set up clearly, with a small but intentional push.
If you’re reading this right after learning how to start your creative process and how to design your first printables, your next step is straightforward:
1. Choose one product idea from your existing notes.
2. Polish it into a finished, test-printed digital file.
3. Create simple, clear Etsy photos and a descriptive listing.
4. Hit publish, and share it with at least a few real people.
That’s the path to your first sale. From there, you’re no longer “thinking about starting an Etsy shop.” You’re a seller, learning in real time and building forward from experience instead of theory.